How to Achieve Seamless Zoom Transitions in Premiere Pro

Have you ever wanted to create fast, energetic, and seamless zoom transitions in Premiere Pro that will hypnotize your audience? Well, in this tutorial, we will guide you through two powerful methods to achieve this effect using Film Impact Premium Video Transitions.
Get ready to add excitement, dynamism, and a professional touch to your videos. Whether you're a beginner or an experienced editor, it’s our promise that these techniques will help you master seamless zoom transitions in Premiere Pro!
Method 1: Zoom Blur Impacts
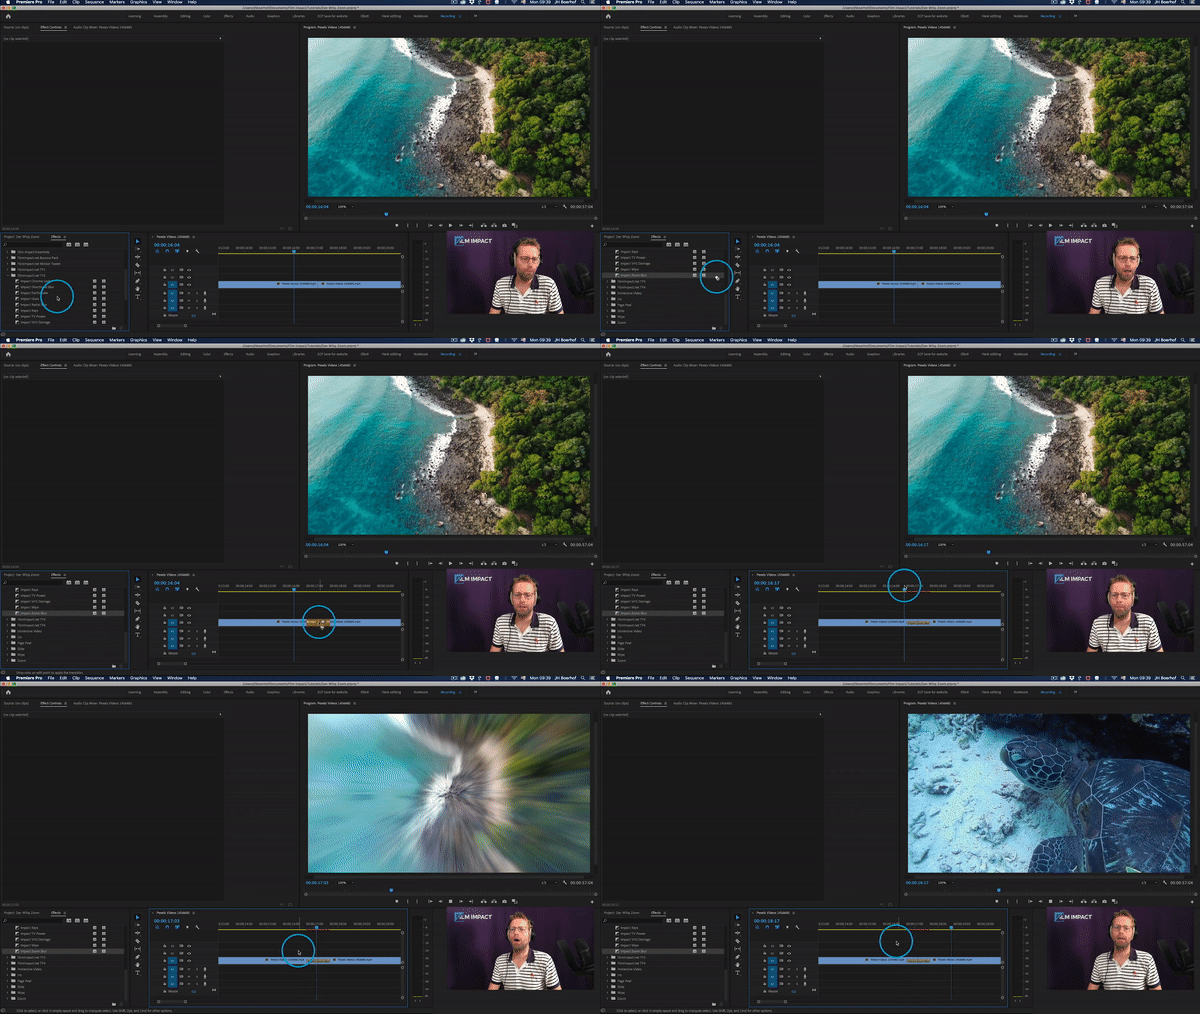
To start, find yourself two beautiful clips to experiment with. In our case, we have a breathtaking drone shot and an intriguing underwater scene featuring a turtle. So, let’s begin by dragging the Zoom Blur Impacts transition from the Film Impact library and dropping it onto the timeline, right between the two clips.
Instantly, the transition takes you into the heart of the action, creating a seamless zoom effect. However, let's fine-tune it for maximum impact. By selecting the transition on the timeline and heading to the Effects Controls tab, you gain access to various parameters that allow you to customize the transition.

To control the zoom's center, you can reposition it within the frame. For instance, if you want to focus on the turtle's head, a fascinating and captivating element, adjust the zoom amount, direction, blur, and exposure accordingly. These adjustments enhance the visual appeal and draw viewers' attention to specific areas of interest.
With a few simple tweaks, you'll achieve a seamless and professional zoom transition that adds depth and intrigue to your video! The Zoom Blur Impacts transition offers a user-friendly interface, allowing you to create captivating zoom effects effortlessly.
Method 2: Motion Camera
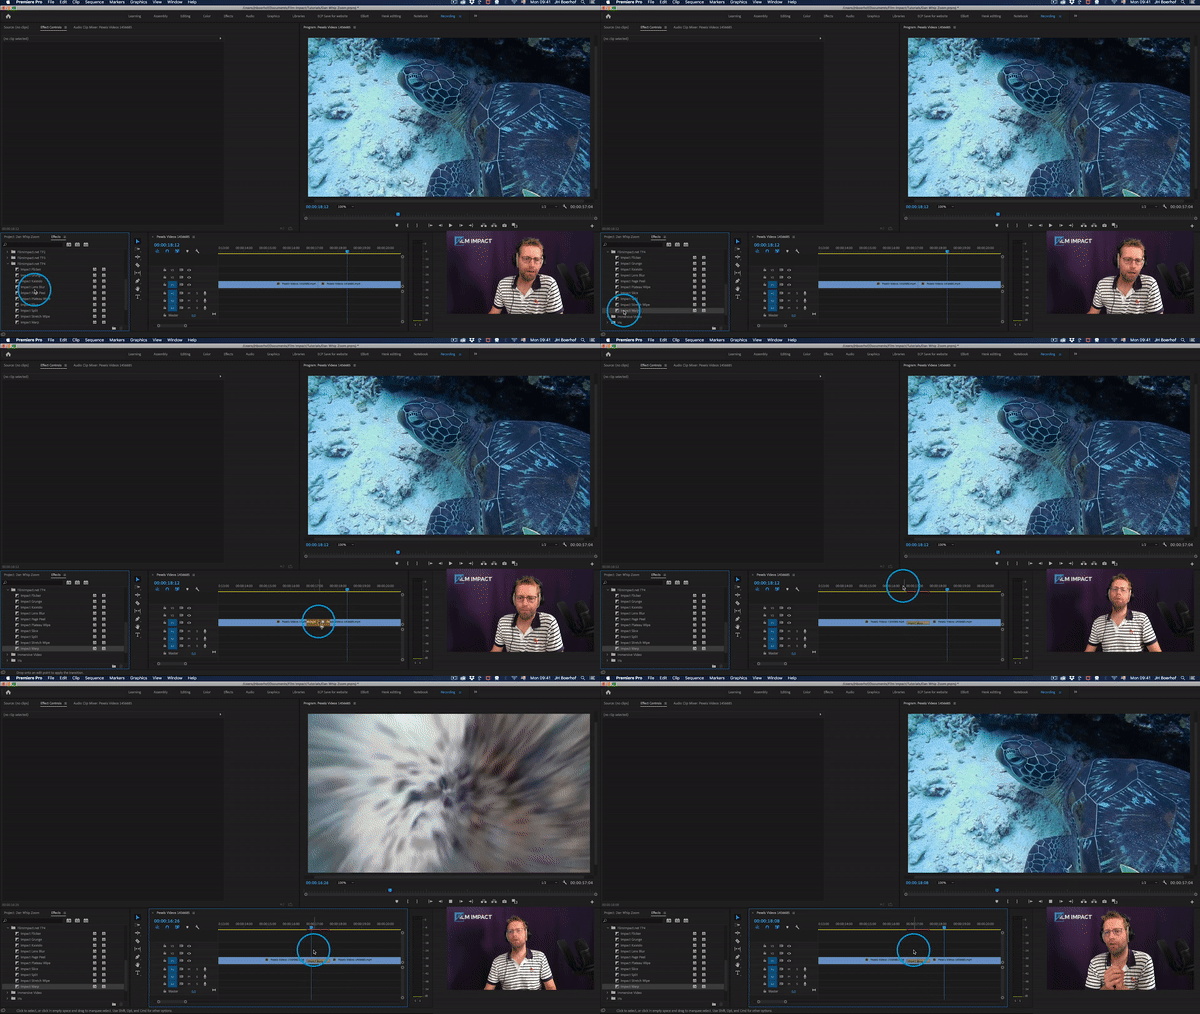
Now, let's explore another exciting option: the Film Impact Motion Camera, a smart tool included in the Big Bang Subscription. Again, all you need to do is drag and drop the Motion Camera onto the timeline, placing it between the clips you want to transition between. Instantly, you'll witness the unfolding of a fast and dynamic action.
What sets the Motion Camera apart is its ability to surprise and inspire creativity. And with the powerful Surprise Me button, you can generate various iterations of the transition, offering different visual styles and effects. This feature is particularly valuable when you're looking for a unique and unexpected transition.

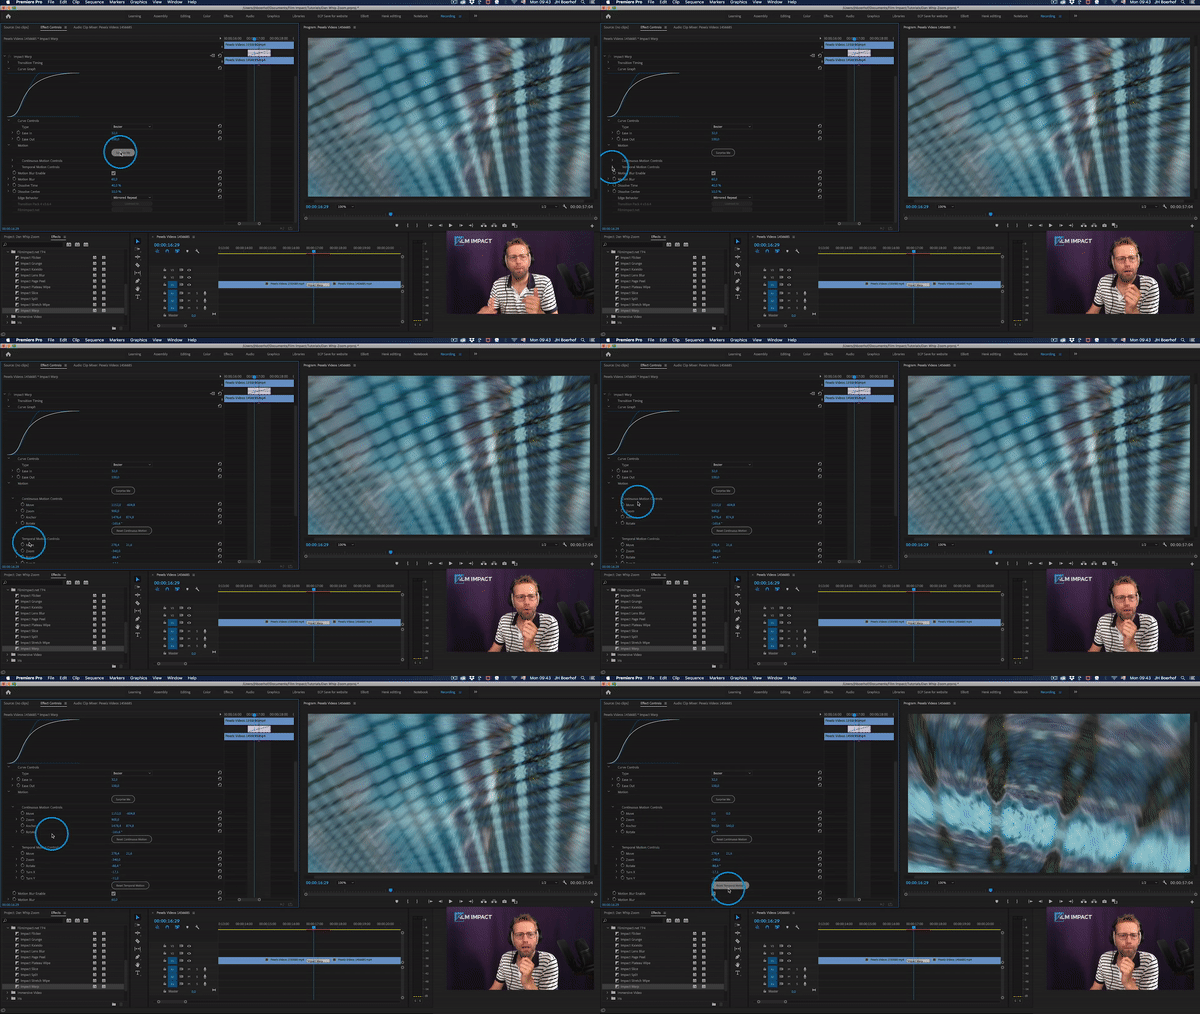
For further customization, dive into the parameter controls. The smart tool offers an intuitive curve graph that allows you to adjust the timing of the effect. This enables you to create an accelerating vibe that smoothly transitions into the next clip, adding a professional touch to your video!
Experiment with the Surprise Me button and find the perfect energy level that suits your video's style and narrative!
Temporal Motion and Continuous Motion Controls
And here’s a little trick you might like! You can take your seamless zoom transitions to the next level by utilizing the temporal motion controls and continuous motion controls available within the Zoom Blur Impacts and Motion Camera. These advanced features provide you with unparalleled precision and creative freedom.
The temporal motion controls allow you to manipulate the timing of the transition, giving you control over the speed and duration of the zoom effect. You can adjust the timing to create a sense of urgency or a smooth and gradual zoom, depending on the desired mood of your video.

The continuous motion controls enable you to fine-tune the zoom transition by precisely controlling the zooming, repositioning, and rotation of the frame. Want to emphasize a specific detail or focal point within the frame? Simply adjust the zoom level, ensuring that your audience's attention is directed exactly where you want it.
Repositioning the frame offers another layer of creative expression. You can guide your viewers' gaze by shifting the center of the zoom or experimenting with off-center compositions. This adds visual interest and helps convey your intended message effectively, just what you want, right?
Conclusion
You now know how to use two powerful tools to create seamless zoom transitions in Premiere Pro using Film Impact Premium Video Transitions. But wait! We have a bonus for you!
You can download these two transitions completely for free when you sign up for our 30-day free trial! Just click here to get started!
Whether you choose the Zoom Blur Impacts or Motion Camera, you now have the tools to add energy, excitement, and a professional touch to your videos.
Remember to subscribe to our Youtube channel for more tutorials, tips, and tricks. If you have any questions or need further assistance, don't hesitate to reach out to us via email, or our contact form. Happy editing, and unleash the full potential of your videos with seamless zoom transitions in Premiere Pro!
Plugins used
Product compatibility


