Light Leaks Impacts

Welcome to another In-Depth video by Film Impact. In this episode, I will be talking about the Light Leaks Impacts.
Doesn’t everybody love light leaks?
If you don’t know what they are, googling it around will show you images like these:
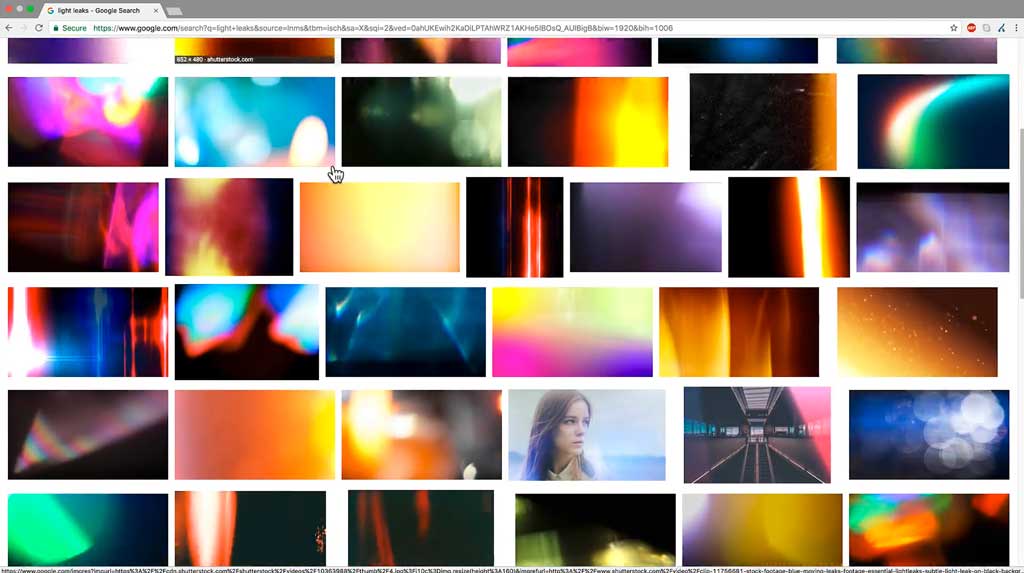
Light Leaks are inspired by a defect in older photography cameras where somehow light could leak into the normally light-tight chamber, exposing the film with extra light. Degrading foam around the film door in 35-millimeter cameras was a typical cause of the problem.
Adding light leaks is a cool post-effect that adds a vintage feel
Now instead of giving you hundreds of video files for you to walk through, we’ve built a very powerful plugin that creates this effect for you. I’ve got two video clips here and I have applied the Light Leaks Impacts video transition in between them. Clicking the transition in the sequence and heading over to the Effect Controls tab will open the parameter controls.
Generate
The first control is the most important one, it says: Generate. Pressing this button will randomly create new leaks. I’m going to press this a few times just for fun. See how it comes up with a unique light leak each time and I pretty much like all of them.

Undo Functionality
You can use the ‘Undo’ functionality within Premiere to go back to previously created light leaks by pressing Command ‘Z’.
Adjusting the effect
Let’s adjust this overall look and start going over to the other controls.
- The Exposure controls give you the ability to change the intensity of the lights.
- Increasing the ‘Flash’ will pull the effect to white in the middle of the transition.
- The Color variation will control the amount of different generated colors per frame.
- Changing the hue will bend the colors. I personally like warm colors for this effect, but feel free to experiment with this.
- The Saturation will control the intensity of the color, so you can cut off some if you think the generated colors are too deep.
- The Rotation parameter will rotate the entire overlay. This allows you to reposition the brightest area of the effect.
- The final Dissolve-Length parameter will change how much time the effect will take to do this dissolve in comparison to the entire length of the transition.
Using the transition as an effect
Talking about effects, Light Leaks Impacts is a video transition. I’m going to show you a great feature within Premiere that allows you to broaden the use of the Light Leaks Impacts and use this transition as a regular effect. Here is how:
Adjustment Layers
Let’s create an Adjustment Layer and drag it on top of our clips. An adjustment layer represents a merged copy of all the layers below. This way we can apply effects to it; Transitions too! I’m making a cut in the adjustment layer, then apply the Light Leaks Impacts to it. And to get a unique light leak, I’m just going to press Generate one more time and play it back.
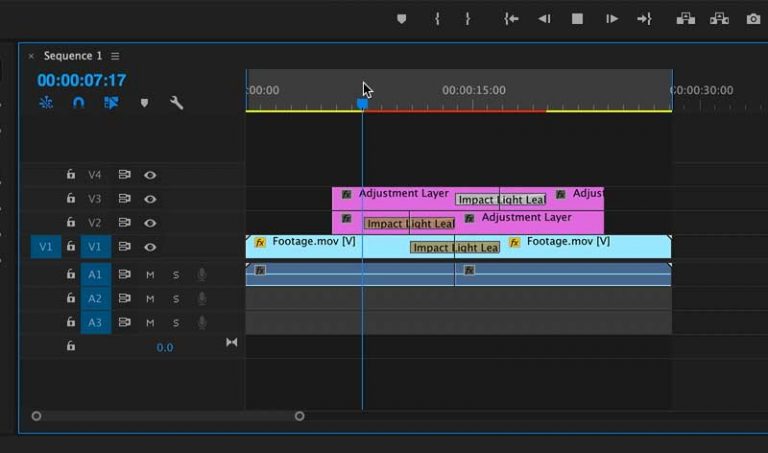
The first light leak applied to the adjustment layer gives a beautiful prelude to the actual transition. You can use this technique to stack multiple copies of the Light Leaks effect and create a more complex effect. This is awesome!
Highlights:
- Generate new light leaks on the fly.
- The plugin is resolution independent so it can be applied to any type of video.
- It renders quickly.
- Using it, you can spice up your footage easily.